
Whether you’re under a tarp on a pulling boat or beneath a bug net in the woods, there will always be something magical about sleeping outside. At HIOBS, one of the first things we teach our students is how to set up their sleeping arrangements. Comfort is key!
How to Sleep on a Pulling Boat, HIOBS style
On a pulling boat, shelter is constructed by using a single tarp that is stretched between the main and mizzen masts, and is held down tightly by monkey lines that attach to the tarp from the underside of the boat. This structure provides shelter from the wind and rain while sleeping and makes a pulling boat feel extra homey!
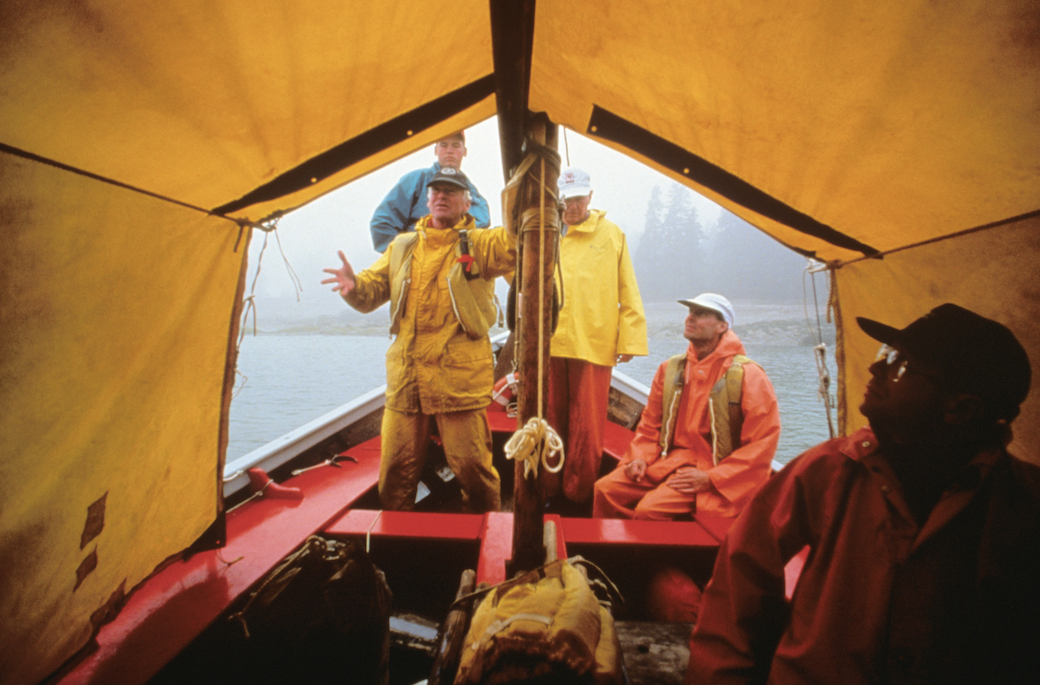
The peak of the tarp is formed by lashing the sprit of the main sail perpendicular to the two masts with monkey lines. This requires a few sets of hands and some teamwork to both hold the sprit up to the correct height and tie it down properly.
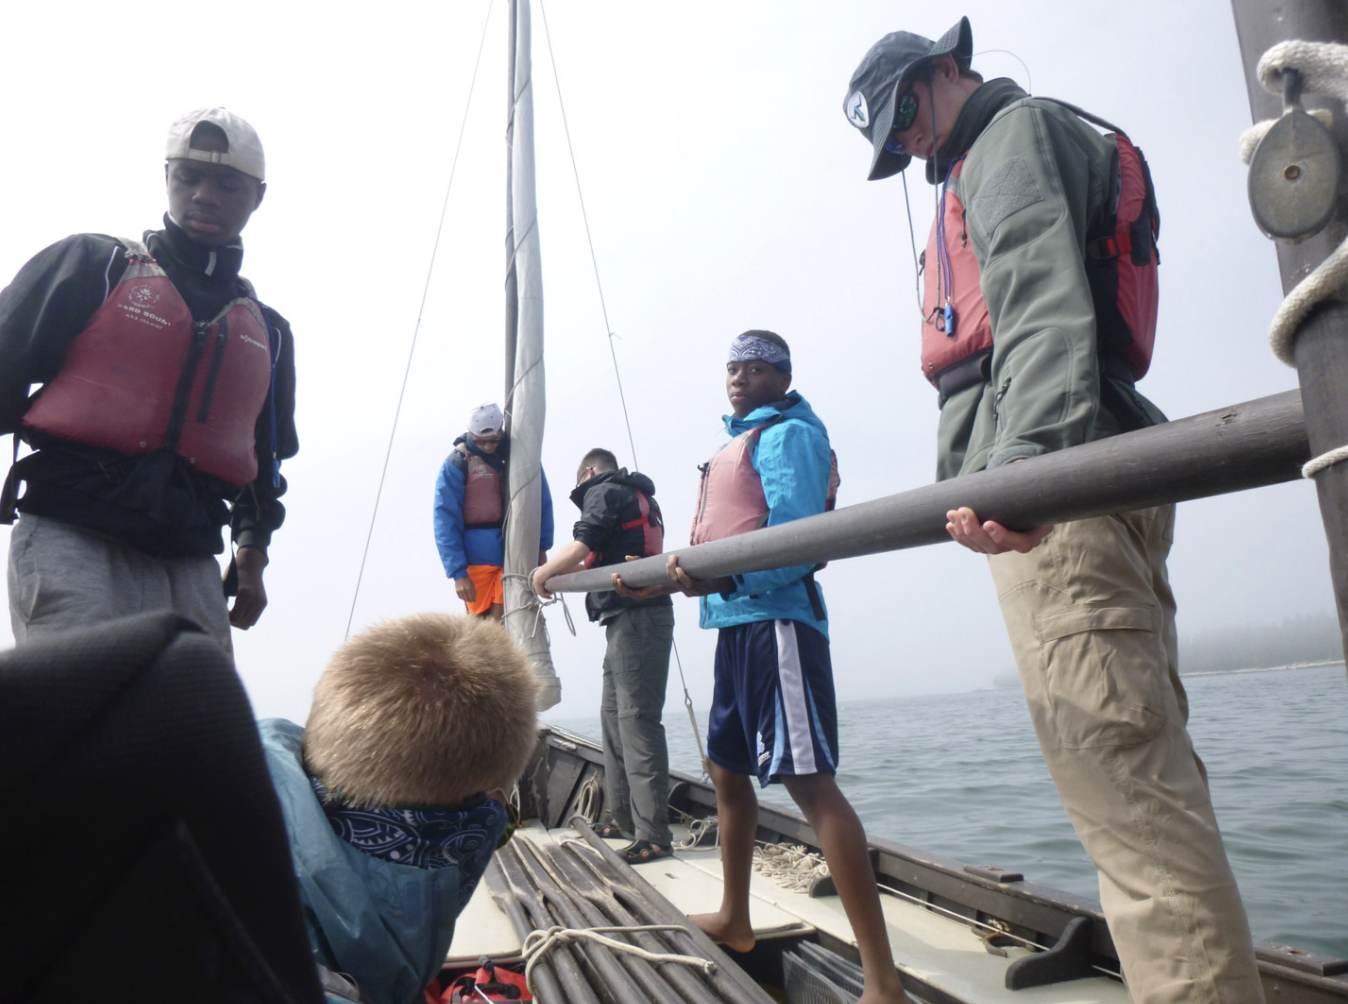
Two dock lines are used to provide extra support and room under the tarp by tying a truckers hitch to the shrouds on both the port and starboard sides of the boat. Next, the tarp is rolled across the structure and lashed to the two masts securely.

Once the tarp is secured to the monkey lines that are run under the boat, the oars are unlashed and evenly placed along the thwarts to provide a surface for sleeping pads and sleeping bags to be placed on top of. Students are encouraged to sleep head to foot next to one another to prevent the boat from listing from one side or the other.
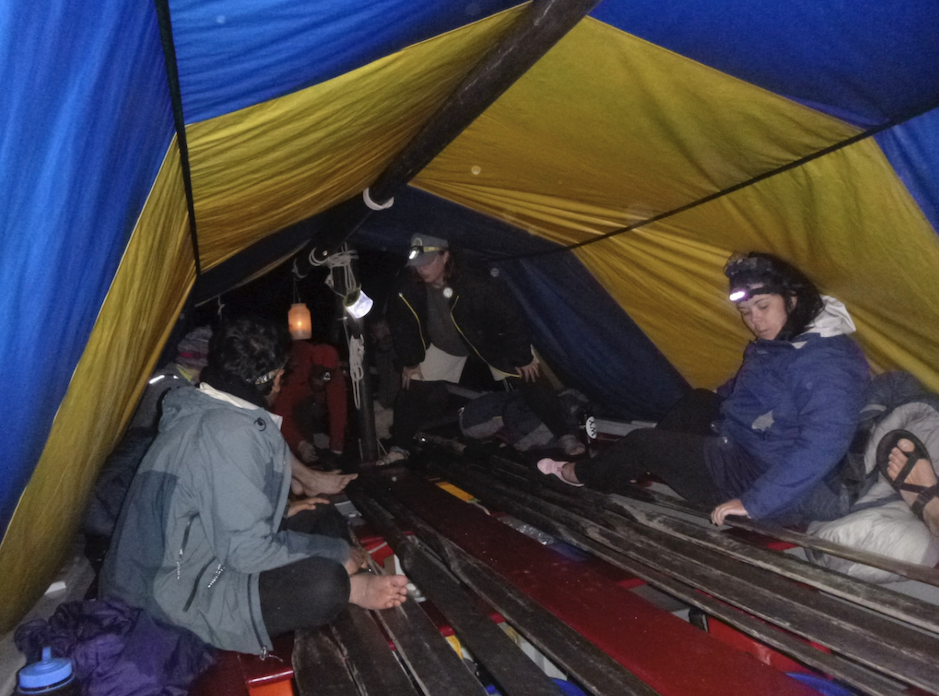
This shelter will provide the perfect protection from the elements during the night and will be taken down and stowed properly in the morning before the daily dip in the ocean.

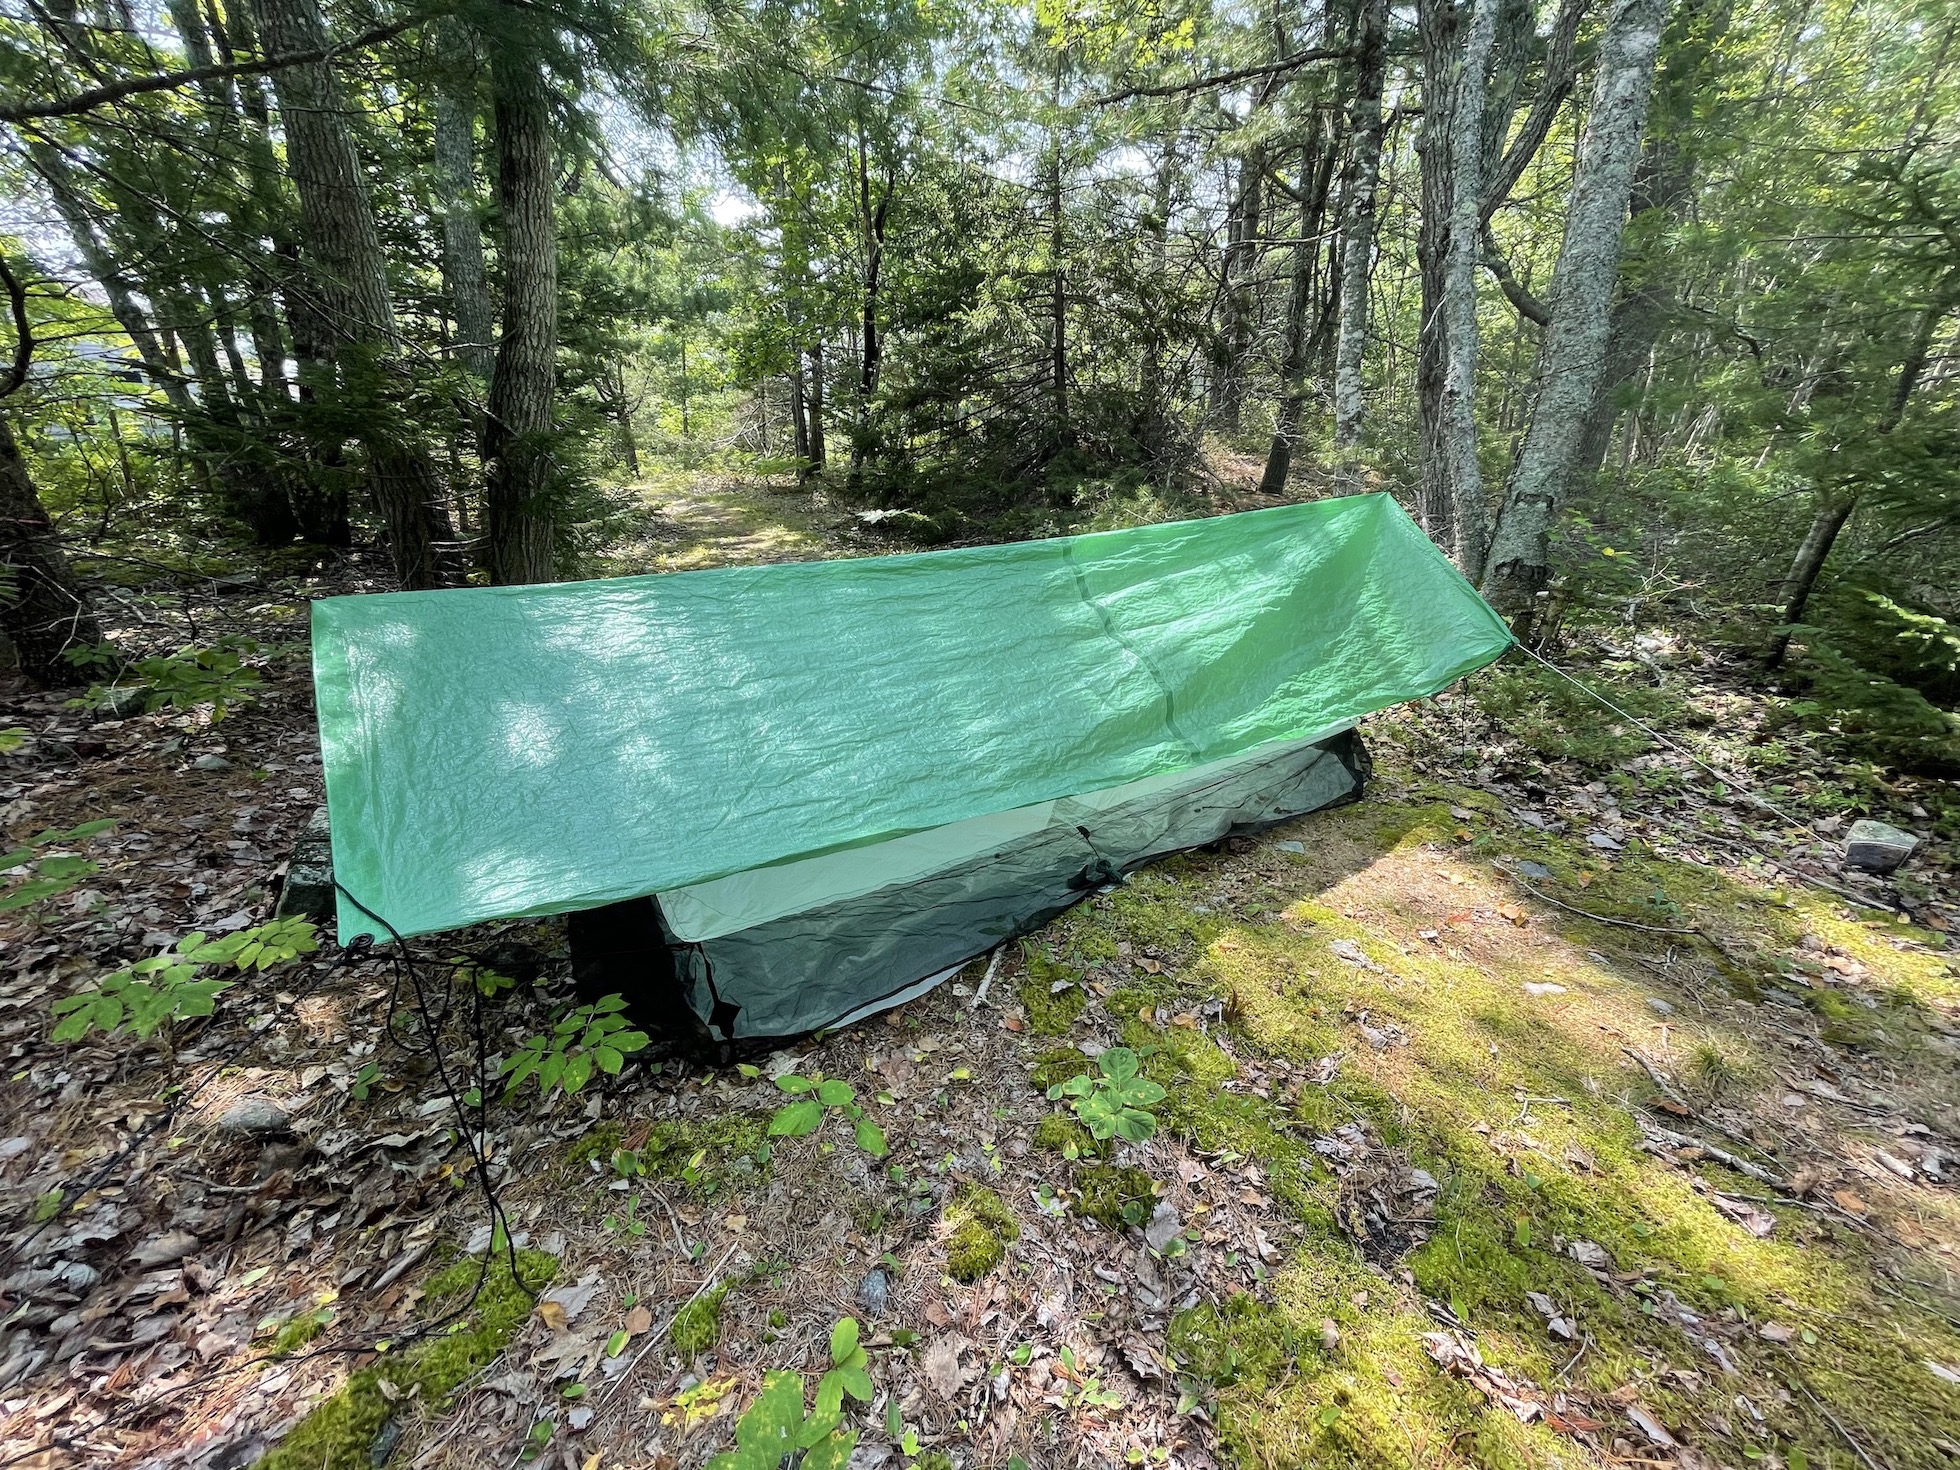
How to Sleep in the Woods, HIOBS style
In a typical, non-pandemic environment, HIOBS uses group tents like the ones below. We haven’t used many of these tents this year, but we’ve had a ton of fun using personal shelters, group tarps and other solutions to help us stay dry and cozy while sleeping.
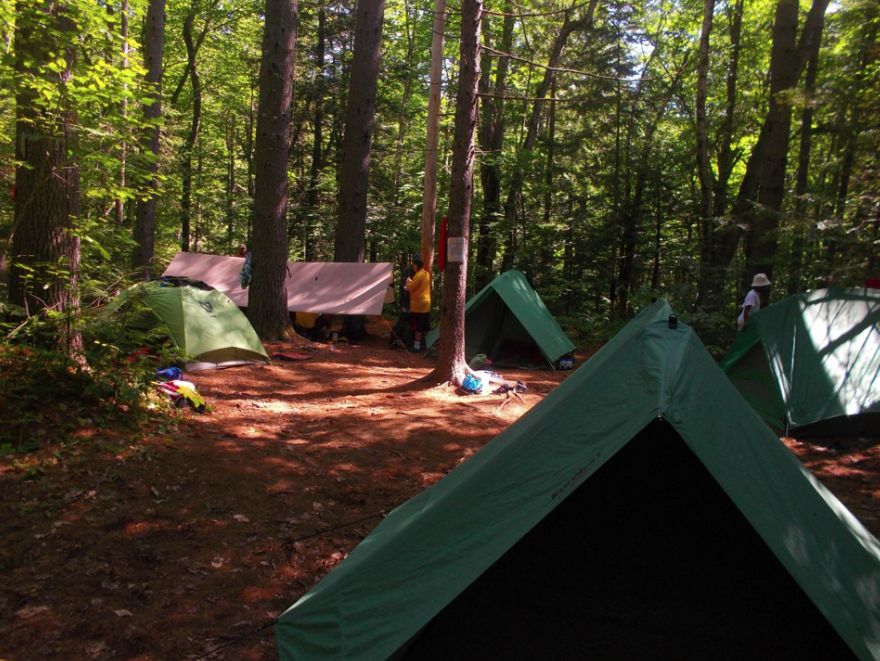
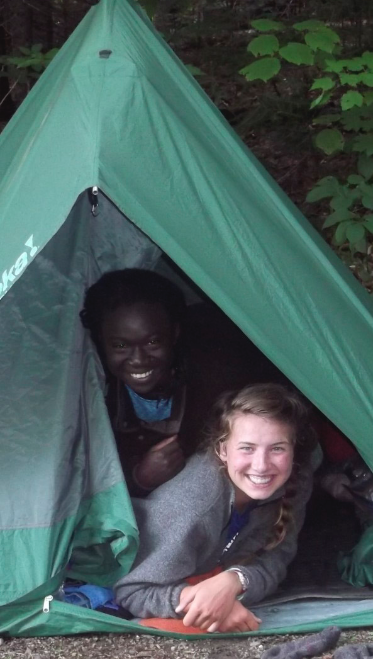
In the 2021 season, every student is provided with an individual tarp, ground tarp, paracord, and a bug net. In some cases, we use group tarps, in which a few students sleep under one “roof.”
How to set up a Tarp
When setting up your individual tarp, it’s best to find a location that’s flat with no roots. There’s nothing better than soft ground! It’s important to look above you for loose branches, so you can avoid setting up your tarp underneath.
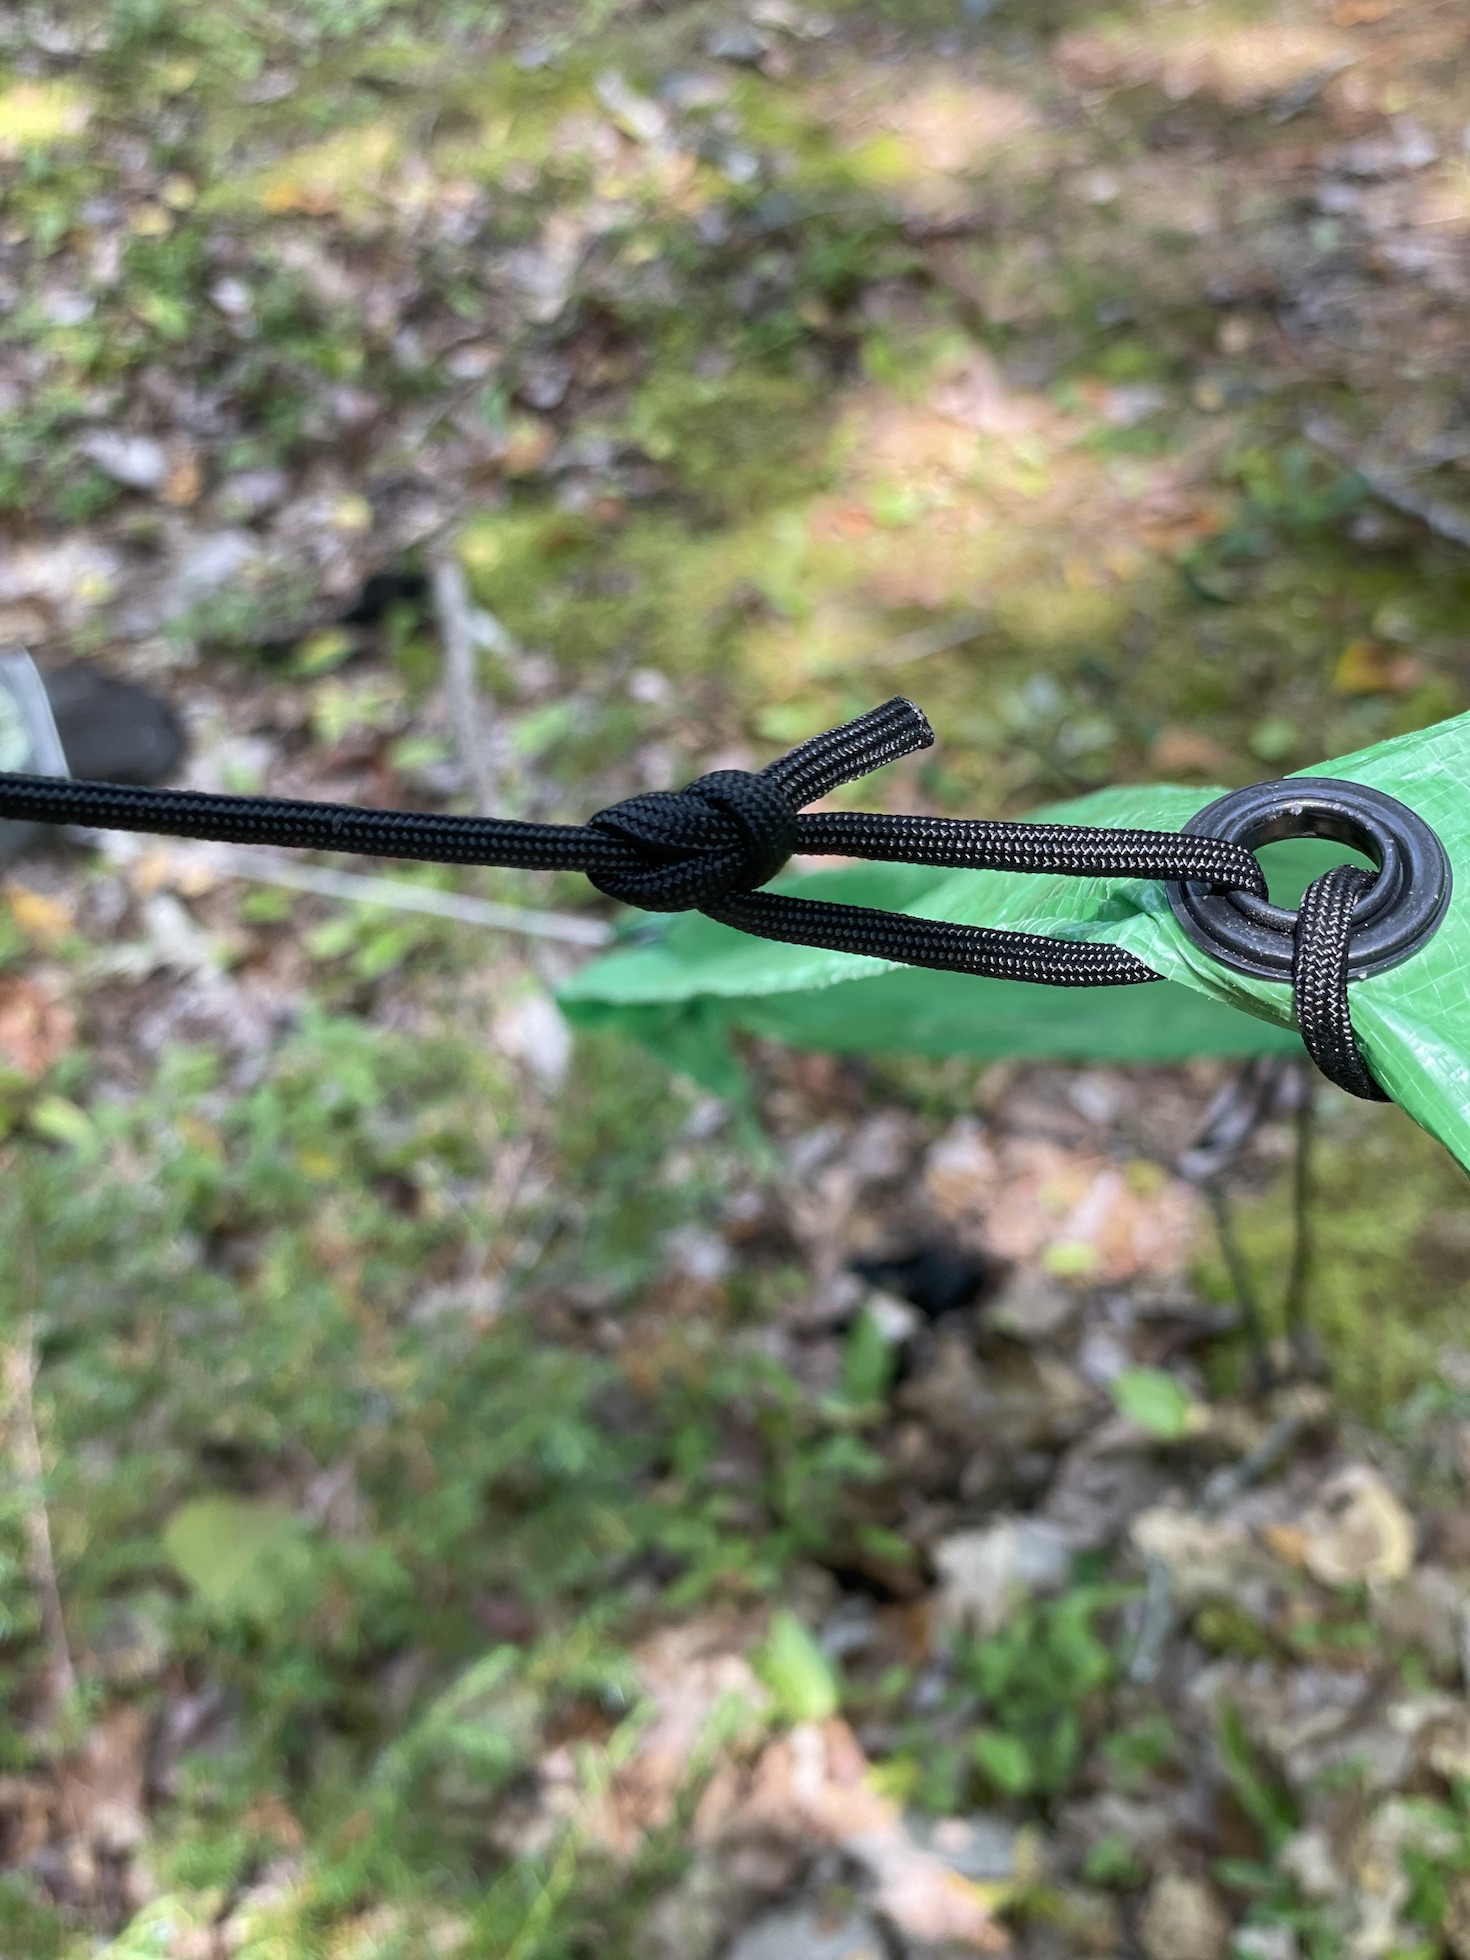
The first step is to lay out your ground cover so your sleeping mat and bag won’t get wet. Next, find a location with trees that are somewhat evenly spaced apart, which is best for tying the paracord attached to your tarp. There are a few knots instructors teach students to set them up for a successful sleeping arrangement: the truckers hitch, a bowline knot, and a taut line, to name a few. If there aren’t enough suitable trees around your spot, consider looping the paracord around a big rock, or another good option is to secure it around a root.

Bowline knot 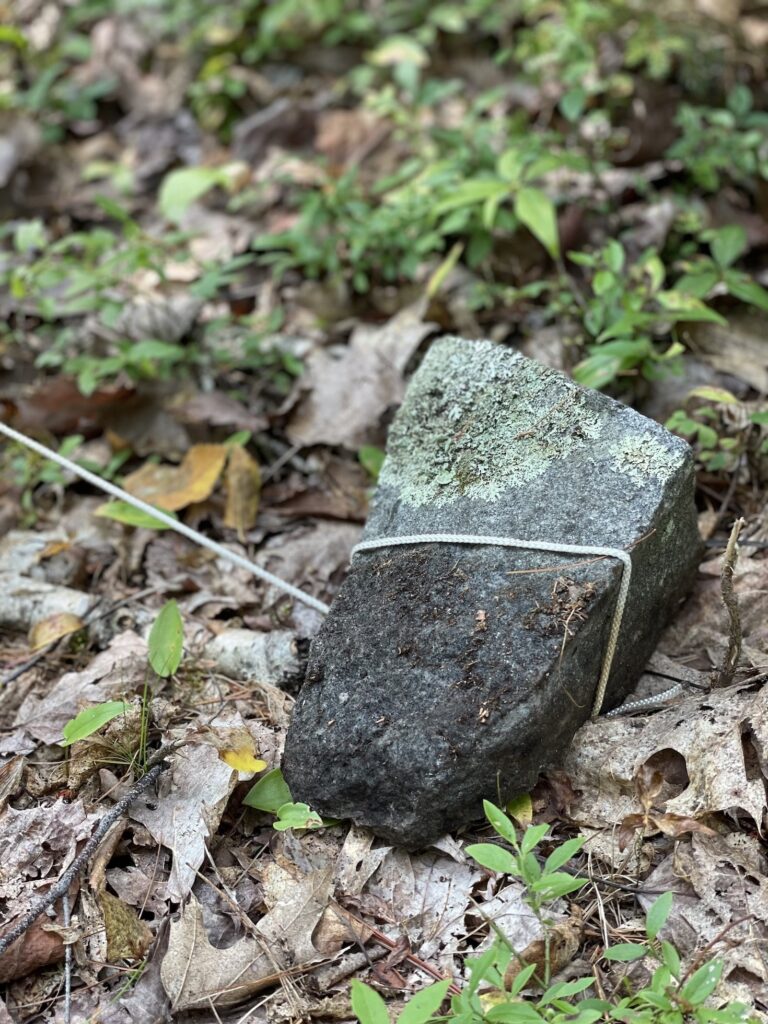
Parachord wrapped around rock 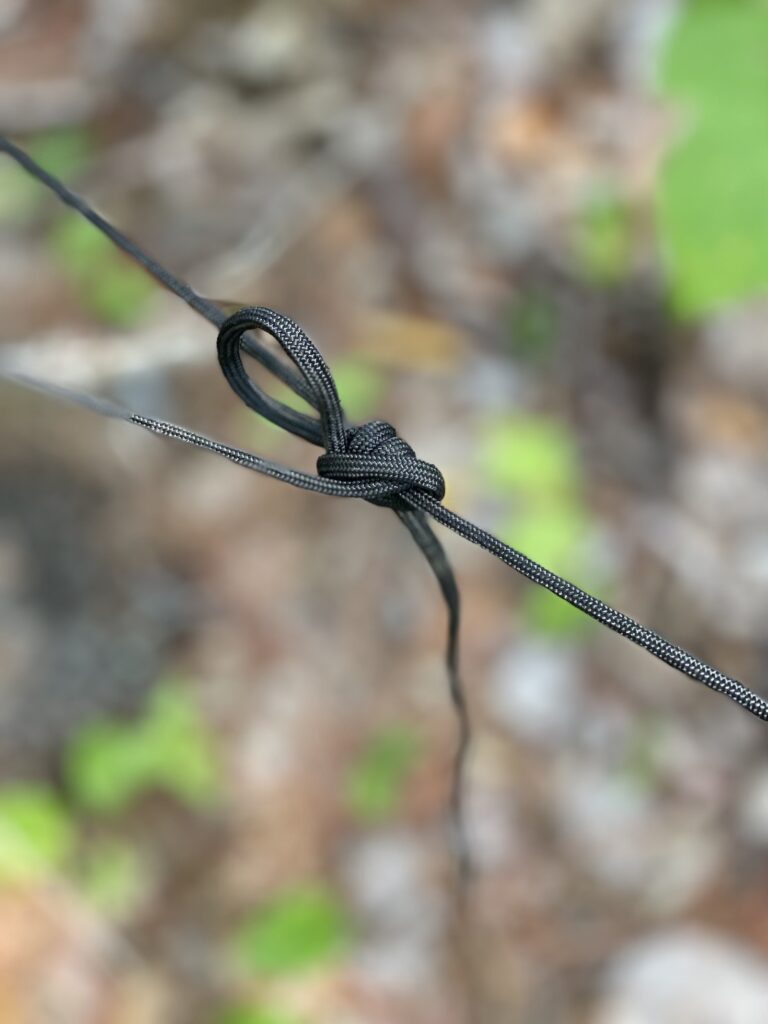
Adjustable truckers hitch
After your tarp is set up, it’s time for the bug net. It’s best to use the truckers’ hitch to tie your net to the four corners of the tarp so that you can adjust it accordingly. After this is complete, your home just needs your mat and sleeping bag!
If you love to sleep outside, but don’t have your own tent – maybe you can use these skills to practice creating a personal shelter of your own, in your backyard!